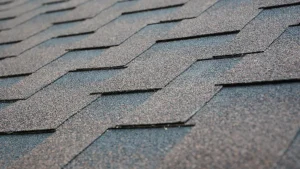
Roof underlayment is one of those “behind-the-scenes” materials you’ll probably never see once your roof is finished, but it plays a huge role in keeping water out and helping your shingles (or metal panels) perform the way they’re supposed to.
If you’re planning a roof replacement, dealing with a leak, or comparing quotes, here’s what homeowners should know about roof underlayment installation, the main types of underlayment, and when it’s time to replace it.
What is roof underlayment?
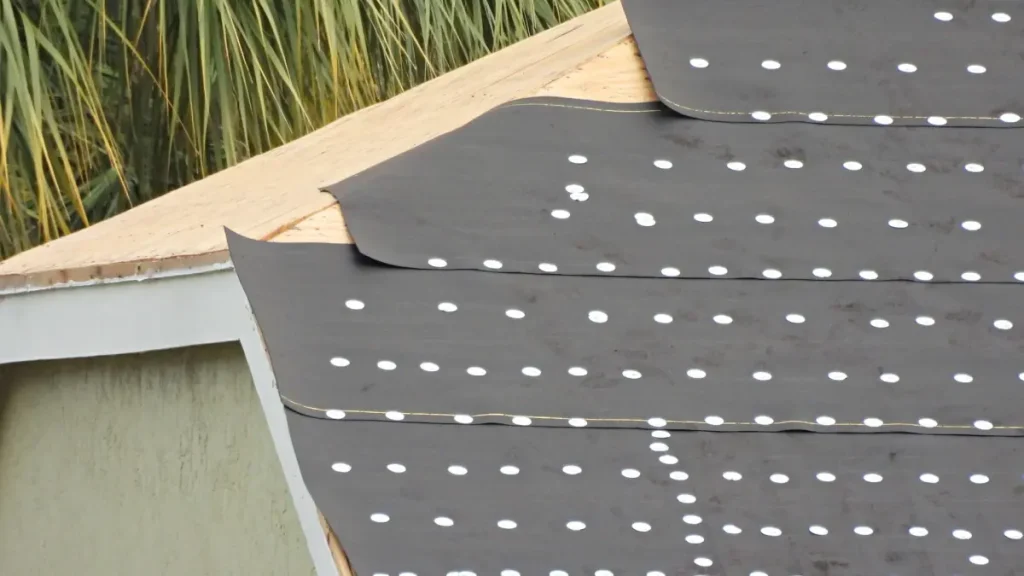
Roof underlayment is a protective layer installed directly on top of your roof deck (the plywood/OSB sheathing) and underneath the roofing material (shingles, metal, tile, etc.).
It acts as a secondary water-shedding barrier, helping protect your home from Wind-driven rain, ice dams and freeze-thaw moisture, and condensation or minor leaks.
Types of roof underlayment (and where each one is used)
There are three main categories you’ll see in most residential roofing projects.
Asphalt-saturated felt (traditional “felt paper”)
Felt underlayment has been used for decades.
Pros
- Lower material cost
- Familiar and widely available
Cons
- Can tear more easily than synthetics
- Can wrinkle if exposed to moisture
Best for: Budget-focused replacements where conditions are mild and the roof won’t be exposed long.
Synthetic underlayment (most common upgrade)
Synthetic underlayment is made from woven or spun polymers and is now extremely common.
Pros
- Stronger tear resistance
- Lays flatter and is less likely to wrinkle
- Often safer to walk on (better traction)
- Can handle limited exposure better than felt
Cons
- Higher material cost than felt
Best for: Most modern asphalt shingle roof replacements.
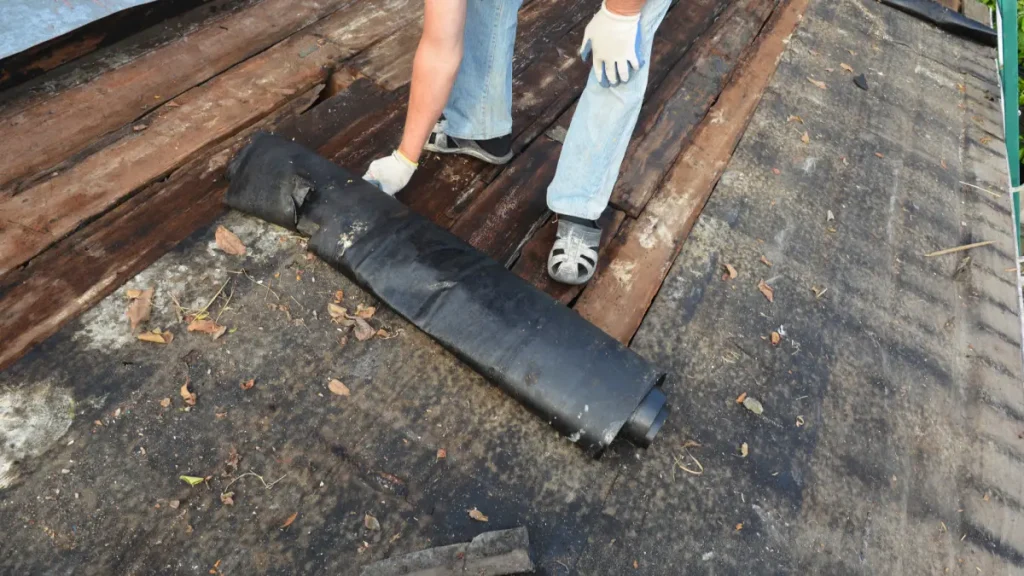
Self-adhered underlayment (peel-and-stick / “ice & water shield”)
This is the most water-resistant option. It adheres directly to the roof deck and seals around nails.
Pros
- Excellent leak protection
- Seals around fasteners
- Ideal for high-risk leak areas
Cons
- Higher cost
- Needs correct installation to avoid trapping moisture
Best for: Eaves, valleys, penetrations, low-slope sections, and areas prone to ice dams.
Roof underlayment installation: the basic process
Exact steps vary by roof type, pitch, and local code, but a professional installation typically includes:
- Tear-off and deck inspection: Old roofing is removed and the deck is checked for soft spots, rot, or delamination.
- Deck repairs (if needed): Damaged sheathing is replaced so the underlayment has a solid, clean surface.
- Drip edge and eave protection: Drip edge placement depends on code and system design. Many roofs also get peel-and-stick membrane at the eaves.
- Underlayment roll-out: Underlayment is installed in horizontal courses, typically starting at the eave and working upward.
- Overlap and fastening: Courses overlap to shed water properly. Fasteners must be placed correctly to avoid tearing or blow-offs.
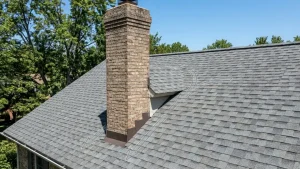
- Detail work at valleys and penetrations: Valleys, chimneys, skylights, and vents are common leak points and require careful layering.
- Roof covering installation: Shingles or other roofing materials are installed over the underlayment.
When do you need new roof underlayment?
Signs underlayment may be failing
Maryland homeowners usually don’t see underlayment directly, but these can be red flags: Water stains on ceilings or in the attic, damp insulation or musty attic smell, leaks that appear during wind-driven rain or when shingles look fine but leaks persist, and last but not least, ice dam issues in winter climates.
Want a quote or a second opinion without worry about asking the right questions? Fifth Sun Roofing can inspect your roof system, explain your options in plain language, and recommend the right underlayment setup for your home.